F. Lase CNC - Hole in the Wall
| There is a special way for escape from the zombie city. A last-minute low cost parcel service offers the remaining free space on a cargo plane. You want to build a box (or coffin?) that can contain you and your most cherished objects, that can fit the specially shaped empty space that remains on the plane (since the company is not willing to move the already placed cargo for you). |
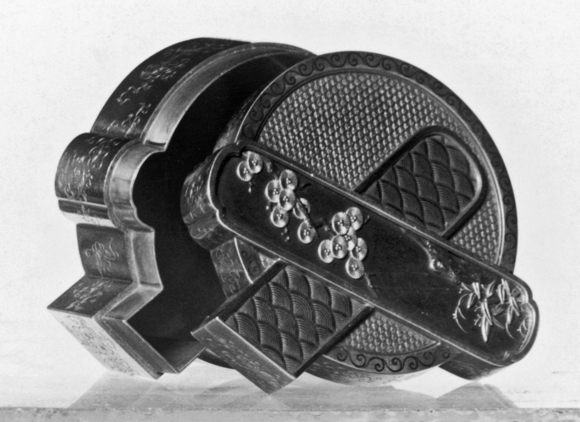
http://upload.wikimedia.org/wikipedia/commons/c/cf/ Japanese_-_Box_in_the_Shape_of_Two_Inksticks_Crossed_on_an_Inkstone_-_Walters_571220.jpg |
To prove you can cut out such a box, you need to design and cut out the scaled version of the lid. There is a go and a no-go mask your lid will be tested against. The go mask represents the free space the box will need to fit in, so your lid must be smaller than that. The easiest way to pass the go mask test is to design a very small box - however, you wouldn't fit in a very small box. The no-go mask is used to test whether your box is big enough. Your lid must collide (not fit in) the no-go mask.
The test is performed on a semi-automated test bench. You need to design a base that should keep your lid standing vertical. The cut must fit in the following bounding box (x;y .. x;y): 0;0 .. 850;1235. To produce the construction, you are allowed to use:
- the laser cutter to cut whatever shape you find appropriate, within 2 minutes (net laser script run time on the simulator)
- your hands to flip the cutout
- your hands to assamble your model
- parts of a multi-part cutout as long as all parts are produced by the same submission
- cut with anything else than the laser
- tear the cutout by hand
- do multiple 2-minute runs on the same piece
- aggregate parts of different runs
- use glue or other substances to modify the cutout
- bend, roll, or other modification (only linear flips are allowed)
The test bench will first pull the go mask, then the no-go mask over the cutout. The cutout is required to stay erect while the go mask is passing over it, while it is required to collide with the no-go mask and trip over. This is validated by an infra opto gate installed next to the mark, as shown on figure below. Once the cutout falls, it has to interrupt the path of the light in the opto gate.

Note: the cutout needs to be sort of a 3d object after assembly: the material we work with is thin paper. Still the cutout needs to be strong enough to stay erect after installation and strong enough to fall down due to the collision with the no-go mask, instead of just flipping away. It is also requred that the cutout is thick enough to interrupt the path of the light - after falling, it must be at least 80 steps high at the gate.
Input
There is a single test case for which the go and no-go masks are provided in png. Please work with at least 2% safety margin for both go and no-go: the laser cutter and the test bench are not nanometer-precise and you will need to place your assembled object manually on the test bench.Output
You can submit your laser script to the end of a queue. Each team may have only one script in the queue; once it is evaluated, the team is free to submit the next attempt. As long as the script is not marked as being under evaluation the team may remove the script from the queue (cancel the submission).We will remove scripts from the queue and feed them in the laser cutter in a panelized manner (multiple teams will share the same cutting slot to reduce overhead). Once the cutouts are ready, the teams will be notified/summoned for evaluation. Teams have 2 minutes to arrive at the test bench after the notification, else the cutout (and the submission) is discarded.
For evaluation, the team needs to assemble the cutout in a controlled environment and place it on the mark on the test bench. The submission is accepted, if:
- the cutout was produced within the specified cut-time
- the assembly of the cutout as specified (no scissors, no glue, etc.) and did not take more than a minute
- the cutout did not interrupt the path of the infra light after tested against the go mask
- the cutout did interrupt the path of the infra light after tested against the no-go mask
- there was no external disturbance (e.g. vibration, air blow, etc) during the test
- the evaluation of the cutout succeeded by at most the second attempt
Mask geometry
The mask is given as input mask.las. The scale on the right is placed under the mask, more or less aligned with the mask. The no-go mask is next to the scale and the other mask on the left (with the smaller cutout) is the go mask. The two masks are centered using the four positioning holes cut around the edges.On the test bench, ths is the front view of the masks with the cutout in front, the masks moving towards the viewer ("out from the screen"). If orientations are still not clear, please visit the test bench and take a look between two evaluations!